
Introduction
In today’s digital age, the importance of print media remains undeniable. Whether you’re creating marketing materials, publishing a book, or designing custom packaging, understanding the key aspects of print production is crucial. This blog post will guide you through the essential points to consider when utilizing printing services, ensuring your projects come out looking professional and polished.
Understanding Print Production Basics

Color Models: CMYK vs. RGB
One of the most fundamental aspects of print production is understanding color models. While digital displays use the RGB (Red, Green, Blue) color model, print production relies on CMYK (Cyan, Magenta, Yellow, Key/Black). This difference can significantly impact how your final product looks.
- Always design in CMYK for print projects
- Convert RGB images to CMYK before sending to print
- Be aware that colors may appear slightly different in print compared to on-screen
Resolution and Image Quality
The resolution of your images plays a crucial role in the final print quality. Low-resolution images can appear pixelated or blurry when printed.
- Use images with a minimum resolution of 300 DPI (dots per inch) for print
- Avoid enlarging low-resolution images, as this can reduce quality
- Check the final print size and adjust resolution accordingly
Choosing the Right Paper
The paper you choose can make a significant difference in the look and feel of your printed materials. Consider the following factors:
Paper Weight
Paper weight affects the durability and perceived quality of your printed piece.
- Lighter weights (60-80 gsm) are suitable for everyday documents
- Medium weights (90-120 gsm) work well for brochures and flyers
- Heavier weights (150+ gsm) are ideal for business cards and postcards
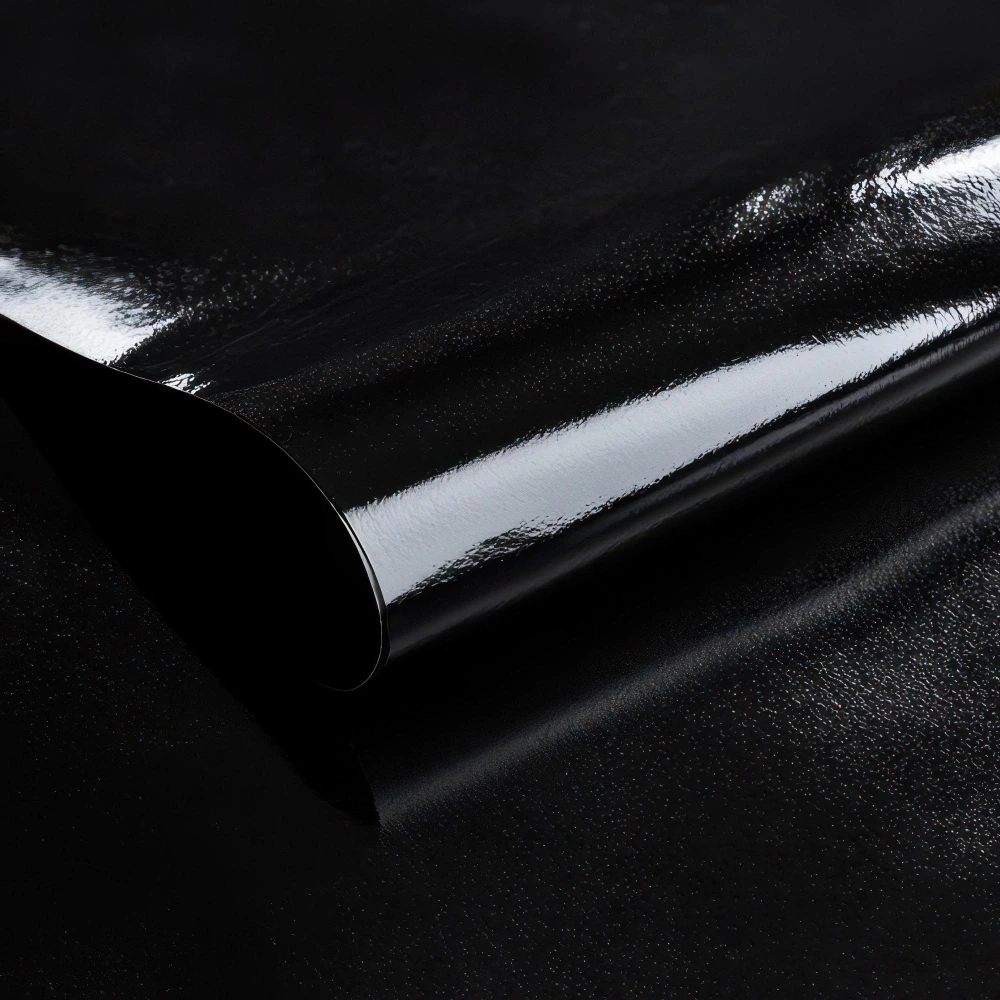
Paper Finish
The finish of your paper can enhance the overall appearance of your printed materials.
- Matte finish: Non-reflective, easy to write on, good for text-heavy documents
- Glossy finish: Shiny, enhances color vibrancy, great for photos and graphics
- Satin or silk finish: A middle ground between matte and glossy
Printing Techniques and Special Effects
To make your printed materials stand out, consider incorporating special printing techniques:
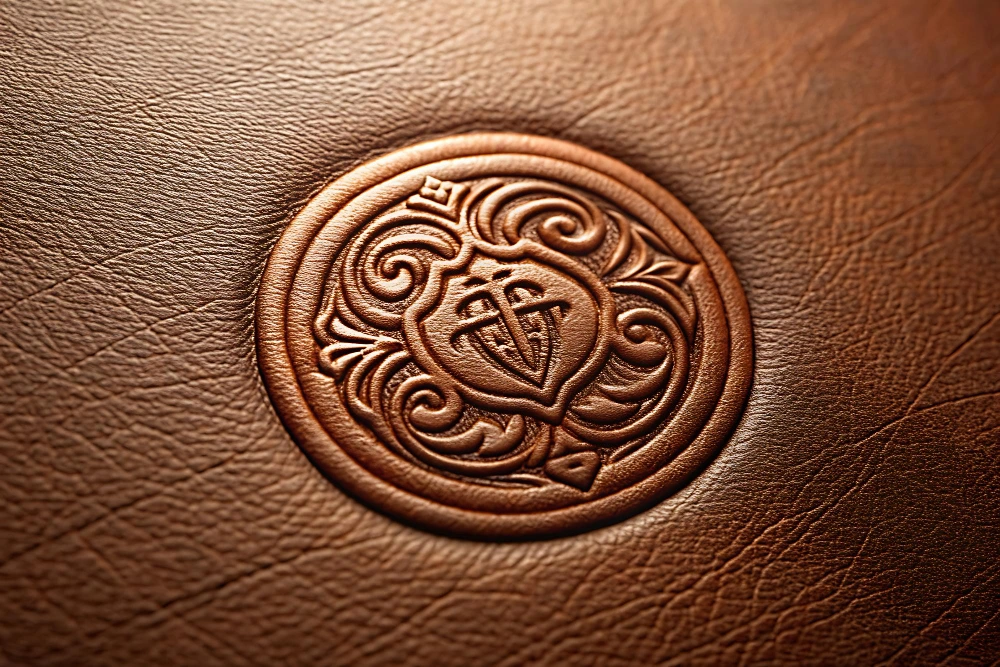
Embossing and Debossing
These techniques create raised or recessed designs on the paper surface, adding a tactile element to your prints.
- Use embossing for logos or important text to make them pop
- Combine with foil stamping for an extra luxurious look
Spot UV Coating
This technique applies a glossy coating to specific areas of your design, creating contrast and visual interest.
- Use spot UV on logos, images, or text you want to highlight
- Combine with matte paper for maximum effect
Proofing and Color Matching
Before committing to a full print run, it’s essential to check proofs and ensure color accuracy.
Digital Proofs
Digital proofs are quick and cost-effective but may not accurately represent the final printed colors.
- Use digital proofs for checking layout and content
- Be aware that colors on screen may differ from the final print
Hard Copy Proofs
Hard copy proofs provide a more accurate representation of the final product.
- Request a hard copy proof for color-critical projects
- Check the proof under different lighting conditions
Color Matching Systems
For consistent color across different print runs or materials, consider using a color matching system.
- Pantone Matching System (PMS) is widely used for spot colors
- Provide PMS codes to your printer for accurate color reproduction
File Preparation and Submission
Proper file preparation is crucial for a smooth printing process and high-quality results.
File Formats
Different printing services may prefer different file formats.
- PDF is the most widely accepted and reliable format for print
- Include all fonts or convert text to outlines
- Ensure all images are embedded in the file
Bleed and Trim Marks
Bleed and trim marks help ensure your design extends to the edge of the paper after cutting.
- Add a minimum of 3mm bleed to all edges of your design
- Include trim marks to indicate where the page should be cut
Proofreading and Final Checks
Before submitting your files, perform thorough checks to avoid costly mistakes.
- Proofread all text for spelling and grammatical errors
- Check image placement and alignment
- Verify that all links and contact information are correct
Conclusion
Mastering the key points of print production can significantly improve the quality of your printed materials. By understanding color models, choosing the right paper, exploring special techniques, and properly preparing your files, you’ll be well-equipped to create stunning print projects. Remember to communicate clearly with your printing service provider and don’t hesitate to ask questions or request samples. With these tips in mind, you’re ready to bring your designs to life in the world of print!